 (Image via
Store-bought yogurt is great and all, but have you ever thought about making your own? The idea of homemade yogurt might sound like something only your ultra-healthy friend or a farmhouse grandma would do, but hear me out. It’s simpler than you think, cheaper than constantly buying tubs, and the best part? You get to control every single ingredient that goes into it. Bonus points for impressing your friends with your newfound DIY skills.
Whether you’re chasing that tangy, creamy perfection or just want to try your hand at something new in the kitchen, this guide will walk you through the step-by-step process of making yogurt at home. No intimidating jargon, just solid tips and a little encouragement to get you started.
Why Make Your Own Yogurt?
Before we roll up our sleeves and start boiling milk, it’s worth asking why you’d even bother making yogurt yourself when the grocery store has shelves packed with neat, pre-packaged options. Here’s why it’s worth your while:
- It’s Healthier: No surprise ingredients, no unnecessary sweeteners, just whole, nourishing goodness.
- It’s Customizable: Like it extra tangy? Prefer a thick, Greek-style consistency? The power is in your hands.
- It Saves Money: A gallon of milk transforms into a whole lot of yogurt at a much lower cost than buying premium brands.
- It’s Rewarding: There’s something so satisfying about eating food you made from scratch.
Now that you’re convinced (I hope), let’s get into it.
What Do You Need to Get Started?
The beauty of making yogurt is that you don’t need fancy equipment or obscure ingredients. Most of the tools can already be found in your kitchen. Here’s your simple checklist.
Ingredients
- Milk – Whole milk is a favorite for rich, creamy yogurt, but you can choose anything from skim to plant-based milks like soy or coconut.
- Yogurt Starter – Yep, to make yogurt, you need yogurt. Don’t worry, it’s not a paradox. This just means a few tablespoons of yogurt that contain live cultures. Check the label for “live and active cultures.”
Tools
- A medium-sized pot or saucepan (stainless steel works best).
- A food thermometer (optional, but super helpful).
- A whisk or spoon for stirring.
- A large bowl and clean jars or containers for storing.
- A warm space for fermenting (your oven, a yogurt maker, or just a thick towel).
Once you’re ready, gather your tools, throw on your favorite playlist, and get ready to create something magical.
Step 1: Heat the Milk
Pour the milk into your pot and set it on the stove over medium heat. Stir gently as it warms up and keep an eye on the temperature. You’re aiming to heat the milk to 180°F. Don’t have a thermometer? No problem. You’ll know it’s ready when you see steam rising and tiny bubbles forming around the edges (but not a full boil).
Why heat the milk? This step kills any unwanted bacteria and creates the perfect starting point for your yogurt to thicken. Think of it as a clean slate.
Step 2: Cool It Down
Remove the pot from the heat and allow the milk to cool until it’s lukewarm, around 110°F–115°F. This is the sweet spot for those yogurt cultures to thrive. Again, if you don’t have a thermometer, you can use the fingertip test: the milk should feel warm but not hot.
Pro tip: Speed up the cooling process by transferring the pot to an ice-water bath in the sink. Just make sure you don’t splash water into the milk.
Step 3: Add the Starter
Scoop about 2–3 tablespoons of your yogurt starter into a small bowl. Take a ladleful of the warm milk and thoroughly mix it with the starter until smooth. This step tempers the yogurt so it blends easily and evenly.
Next, pour this mixture back into the pot with the rest of the milk. Give it a good stir to ensure those live cultures are evenly spread out.
Step 4: Keep It Cozy
Yogurt cultures are like us in the sense that they thrive when they’re warm and cozy. Once the starter is mixed in, transfer the milk mixture to your containers or leave it in the pot. The goal now? Find the perfect warm spot for it to ferment.
Here are a few ideas for keeping the yogurt warm at around 110°F for 6–12 hours:
- Oven – Set it to the lowest temperature for a few minutes and then turn it off. Place your container inside and wrap it in a towel for insulation.
- Yogurt Maker – If you’re serious about yogurt-making, this device is worth investing in. It maintains the ideal temperature for fermentation.
- Cooler Bag or Blanket – For a more DIY method, wrap the container in a blanket or tuck it inside an insulated bag.
It takes patience, but good yogurt is worth the wait. Resist the temptation to peek too often, as this can disrupt the fermentation process.
Step 5: Check for Completion
After 6–12 hours, it’s time to check your creation. The longer the fermentation, the tangier the yogurt. Carefully remove the lid and take a look. The yogurt should be thickened and may have a slight layer of liquid whey on top (don’t worry, that’s normal).
Stir gently to even out the texture and refrigerate it for a few hours to help it fully set. Cold yogurt = happy yogurt.
Step 6: Taste Test and Customize
Congratulations! You just made yogurt from scratch. The final step? Enjoy it. Take a spoonful of your freshly made yogurt and savor that creamy, tangy goodness.
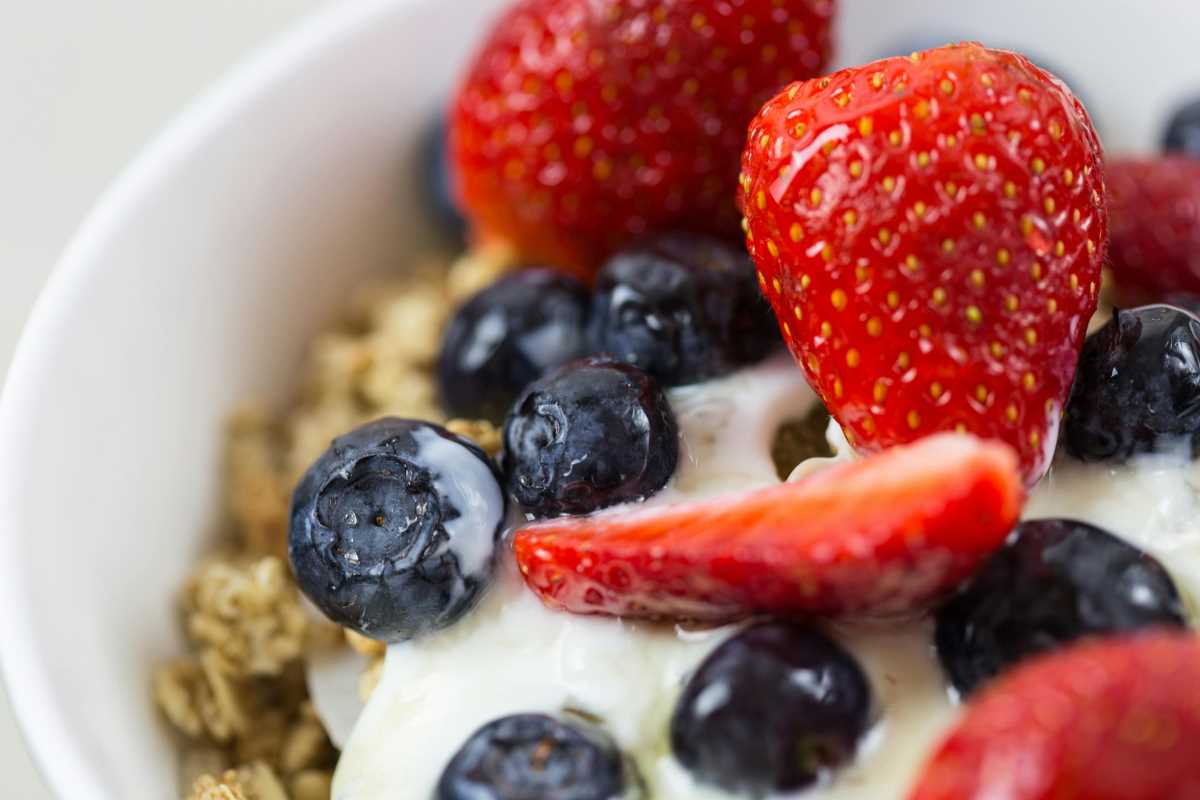
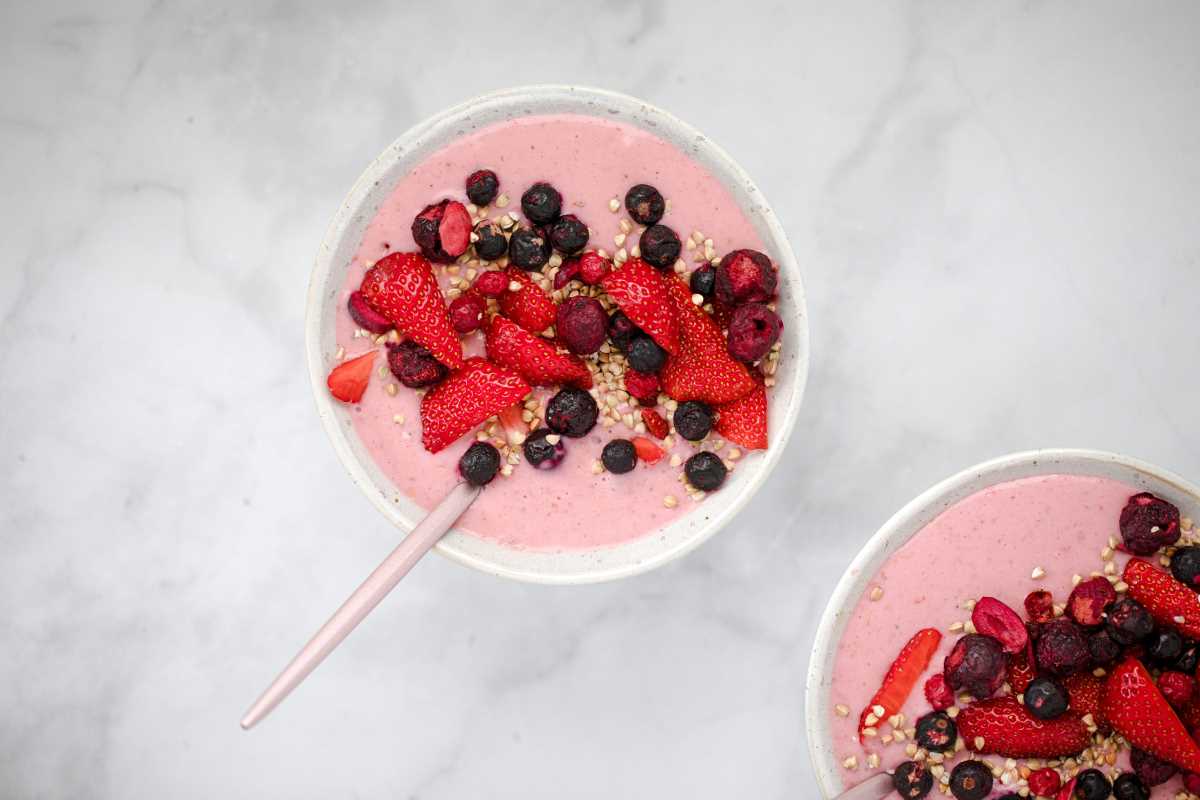
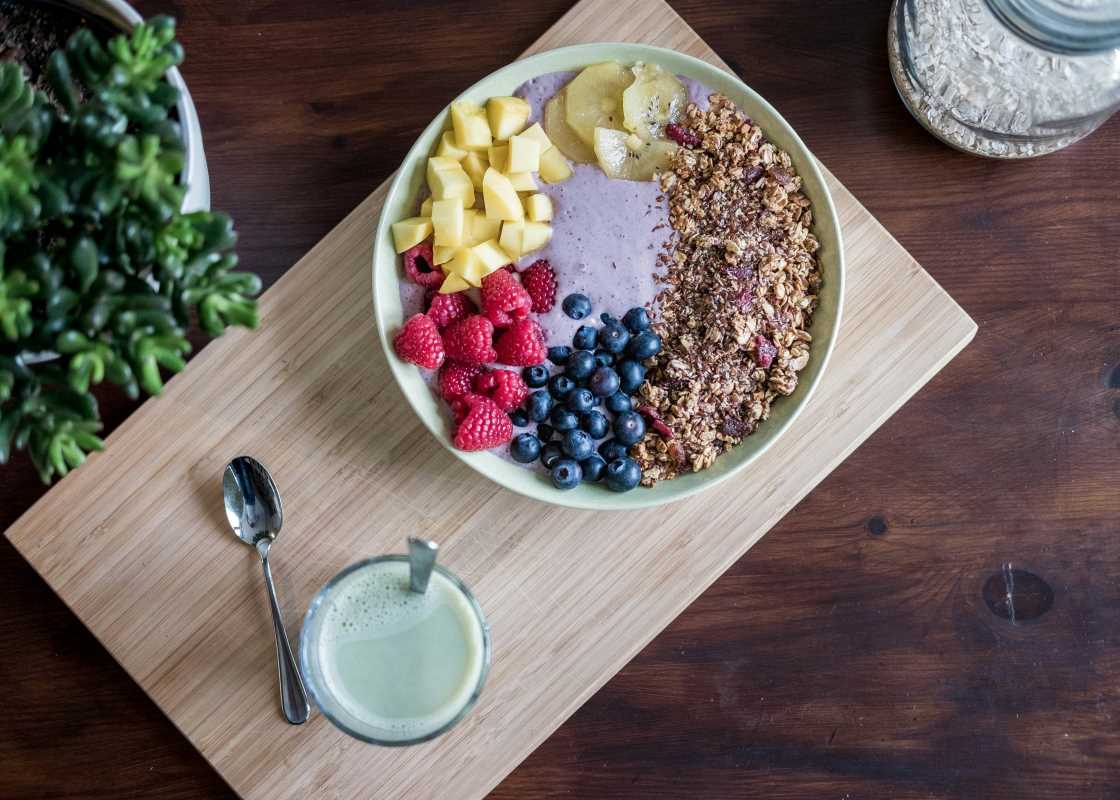
Now is the time to get creative with toppings and mix-ins. Here are some ideas to elevate your yogurt game:
- Sweeteners: Honey, maple syrup, or a drizzle of agave.
- Fruits: Fresh berries, sliced banana, or sautéed apples.
- Crunch: Granola, nuts, or chia seeds.
- Savory Touch: A sprinkle of salt, a dash of olive oil, and some herbs for a Mediterranean vibe.
Troubleshooting Common Yogurt-Making Issues
Homemade yogurt is forgiving, but here are a few hiccups you might encounter and how to fix them.
- Too Runny? Double-check that the milk was heated and cooled properly. You can also strain the yogurt through a cheesecloth for a thicker consistency.
- Too Tangy? Shorten your fermentation time on the next batch.
- Doesn’t Set? Your starter might not have live cultures, or the mixture wasn’t kept warm enough during fermentation.
Remember, yogurt-making is a learning curve. Every batch will get better as you go.
Why You'll Never Go Back
Once you’ve mastered this process, it’s hard to go back to the store-bought stuff. Homemade yogurt isn’t just about the end product (though that’s a big part of it). It’s about the joy of trying something new, slowing down, and connecting with the food you eat. Plus, the flavors and textures you’ll get from homemade yogurt are unbeatable.
Who knows? This could be the start of an at-home fermenting adventure. From here, you can experiment with flavored yogurts, frozen varieties, or even venture into the world of kefir and cheese.
Making yogurt at home is a deeply satisfying experience that’s easier than it looks. With just milk, a bit of live-culture yogurt, and a little patience, you can create a creamy, tangy treat that’s just as good for your body as it is for your wallet.